We know that whether it be in transit or on an oyster bed -scratches are going to happen. Thankfully the hulls on Roundabout Watercrafts are made from rotationally molded polyethylene plastic that is extremely thick. In this, making a repair on your own hull isn’t as hard or as involved as one may think. The staff at the Roundabout Watercrafts Headquarters put together this quick video below detailing the simplified process they use to repair their own demo boats.
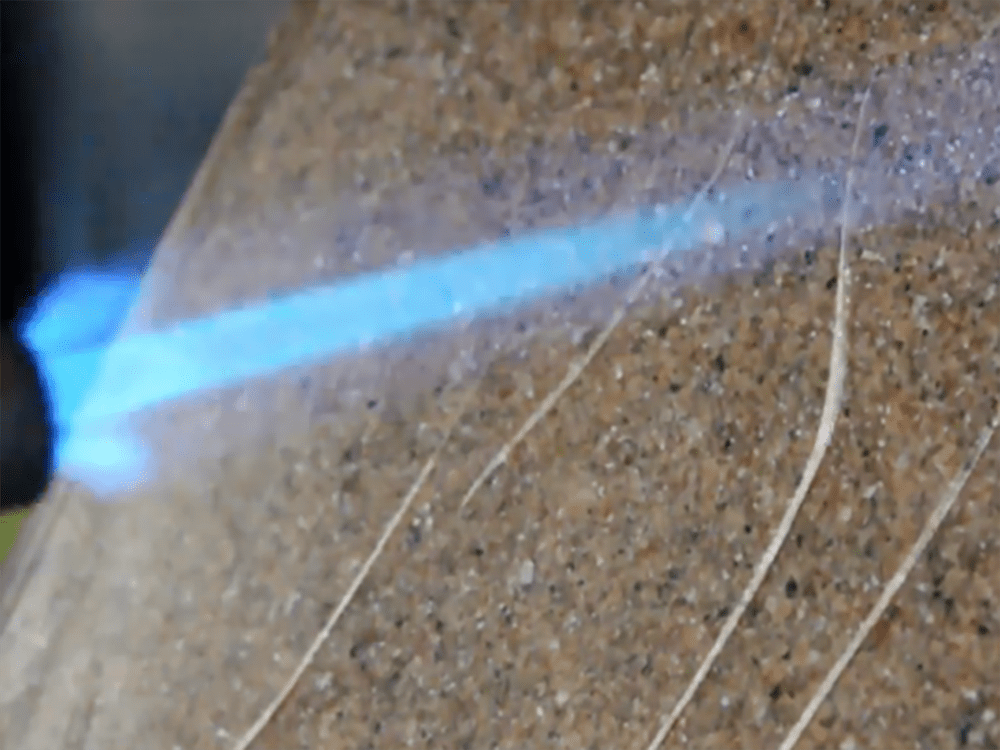
At first you might think that taking a propane torch to your plastic hull is the last thing you want to do, but this would be incorrect thinking. Due to the hull thickness and the fanning motion of the torch as shown in the video, this will not allow enough heat to penetrate into the hull thickness fast enough to cause any deformations. This is why two parts of this process are highly important however. The first being that the fanning motion helps move the heat around more evenly over a broader area, and, secondly, you want to verify you aren’t over heating it at any given moment in a specific spot. The video really shows you what you are looking for:
- The scratches just start to heal
- The surface starts to take on the shiny appearance
At this point the repair is taking place, so, keep fanning the torch and then stop as soon as the scratch looks healed.
The second reason we use a propane torch is particularly because of the pinpoint high heat it does provide. This allows the process to become much faster, while not penetrating the entire hull thickness. Remember, you are working on a surface repair, there is no need to think beyond exactly what you are seeing. A heat gun may come to mind for this, but in general you will have to hold the heat gun to the hull much longer to get the surface to the melting point, but this will increase your odds of actually heating up the entire thickness of the hull. That can then get you into deformation territory. Soldering irons tend to leave deep scoring or cause a “smear” of the surface that is harder on the eyes than the original scratch was! The propane torch is the best tool for this hands down.
You will also note the “hand pat” shown right after the area healed in the video. This little trick allows you to get the hull surface finish to look just like it did from the factory. This is shown at the end of the video where you cannot even make out where the scratches or repair took place. I have seen where someone made the repair as shown, but then thought a bondo spreader would leave a smoother surface, well- that actually lead to a huge hull smear that was completely horrible to look at. Just follow along with what you see in the video, and it will all work out.
What happens if you are still uncomfortable with the idea, but you want your scratches fixed?
Well, if you are near Ruskin, Florida – give us a shout out and we might be able to invite you over for an impromptu repair session. You can also check with your local Roundabout Watercrafts Dealer and see if they offer the service. Or lastly, kayakers deal with this as well – and many kayak shops offer this as a repair service. This is an alternative if you are looking for a pro to make the repair. Odds are you have one of these shops in your own area.
However, we are confident that if you give it a shot, take your time, and “read” the plastic – you will find that this DIY is right up your alley!